
Weapons
Every Mycopunk weapon explained: baseline roles, the Armament License unlock system, grenade lines and which guns carry a run before upgrades arrive.
Introduction
Weapons in Mycopunk are less about raw damage and more about which upgrade pool they open up. Each weapon carries its own set of modules, so picking a gun is effectively picking a build direction before you have found a single upgrade. Unlocking is deliberately flexible: until you have every normal weapon, levelling up grants an Armament License that can be spent on any weapon in any order, which means there is no single correct unlock sequence. Grenades sit in their own slot and follow the same pattern, with Photon Disc, Incendiary, Voltaic and Caustic lines each playing differently. This section covers what each base weapon does before upgrades arrive, how the unlock system works, and which weapons carry a run early on.
Weapon Quick Reference
| Weapon | Role | Signature Trait | Notes |
|---|---|---|---|
| G6 Streetsweeper | Close-range baseline | Spread-friendly shotgun damage | The safest first unlock; scales well with cheap spread modules |
| Carver | Melee-range bruiser | Builds blood stacks you can spend | Rewards staying close and converting stacks into burst windows |
| Cycler | Elemental platform | Subzero Energy applies cryo bullets | The 1.0 upgrade trades fire rate for elemental application |
| Shocklance | Line piercing | Rewards lining enemies up | Unlocks only after completing the Overtime Assignment |
| Diffraction Driver | Ion scattergun | Spinning halo tightens the cone | 1.0 weapon, unlocked with resources at level 10 |
| The Globbler | Acid grenade launcher | Lobs acid payloads | Pairs naturally with corrosive and rot-focused modules |
Weapon Roster
G6 Streetsweeper
Starting Tier — Close-range baseline shotgun
Carver
Stack Engine — Melee-range bruiser that builds blood
Cycler
Elemental — Dedicated elemental platform
Shocklance
Mission Gated — Piercing coil weapon
Diffraction Driver
1.0 Weapon — Ion scattergun with a tightening cone
The Globbler
Elemental Support — Acid grenade launcher
Core Mechanics
You start with a baseline loadout and improve it through two parallel tracks. The first is the weapon itself: Armament Licenses earned from levelling let you unlock normal weapons in whatever order you prefer, and each weapon then levels independently, with its own reward track running up to level 32 where a Boundary Incursion upgrade is granted. The second track is the upgrade grid, where weapon-specific modules slot into the same shared space as your employee abilities. Grenades follow the same logic through a separate slot, and the 1.0 release renamed two of them, turning the Shock Grenade into the Voltaic Grenade and the Acid Grenade into the Caustic Grenade, so older guides may use the previous names for the same items.
Advantages
The weapon roster is broad enough that almost any playstyle has a home. Shotgun players get the G6 Streetsweeper, players who like staying airborne get the Au-Si Jackrabbit with its airborne damage Turbocharge, melee-range bruisers get the Carver and its blood stacks, and players who want to sit back and pick targets get the DMLR. The Cycler is the dedicated elemental platform and its 1.0 upgrade, Subzero Energy, makes bullets apply cryo at the cost of fire rate, which is a genuinely interesting trade rather than a straight upgrade. Because unlock order is free, you can chase the weapon that matches the modules you already own instead of grinding toward a fixed progression.
Challenges
Every weapon starts weak, and the gap between a stock weapon and a kitted one is large enough that threat 3 can feel unfair with an unfitted gun. Because each weapon has its own upgrade pool, spreading attention across several weapons splits your module collection and leaves all of them mediocre, which is a trap the game never warns you about. Some signature weapons sit behind missions or level gates that are easy to miss: the Diffraction Driver only unlocks around level 10, and the Shocklance requires completing the Overtime Assignment first. The developers have also not published upgrade lists for the newest weapons, so expect to discover their best modules by playing rather than by reading.
Frequently Asked Questions
What is the best order to unlock weapons?+
How do I unlock the Diffraction Driver and the Shocklance?+
Are grenades worth building around?+
Quick Tips
Pick one weapon and commit for a while. Because each gun has its own upgrade pool, splitting drops between three weapons leaves all three underpowered, and you will feel it first on threat 4 when enemy health scaling outpaces your half-finished builds. Choose the weapon whose modules you already own the most of, level it, and only branch out once it can carry a run on its own.
Do not sleep on grenades as an elemental delivery system. A single Caustic or Voltaic grenade with the right modules applies a status to everything in a radius, which is far more efficient than trying to proc an element one bullet at a time. Keep one grenade upgraded alongside your main weapon rather than treating the slot as an afterthought you only use when out of ammo.
Check the in-game Codex before you scrap a weapon-specific module. The Codex lists every weapon, upgrade and skin, so it is the fastest way to see which pool a module belongs to and whether it is worth holding for a weapon you have not unlocked yet. This matters most during the level 10 window, when new weapons start appearing faster than you can test them.
Featured
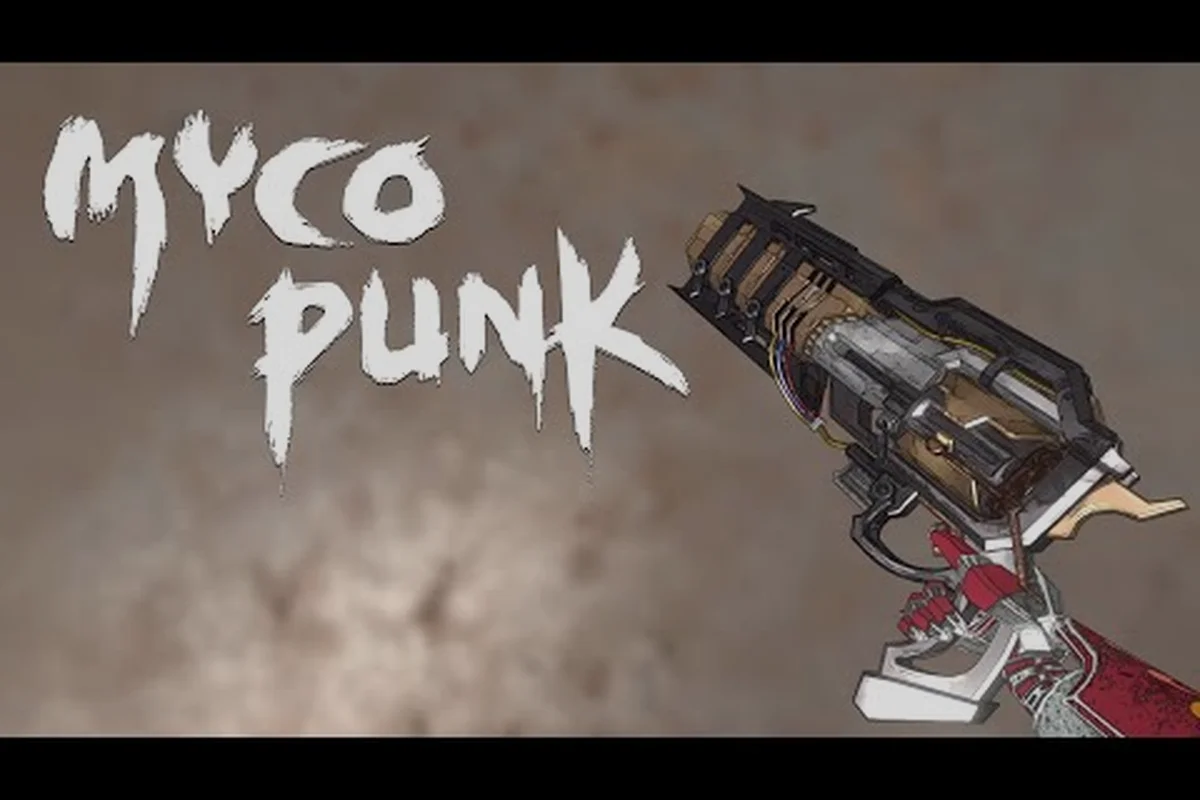
Mycopunk Weapons List: Every Unlock, XP Route & Top Pick
Browse the full Mycopunk weapons list — see every weapon unlock, the fastest XP leveling route, and standout top-tier picks to match your playstyle.
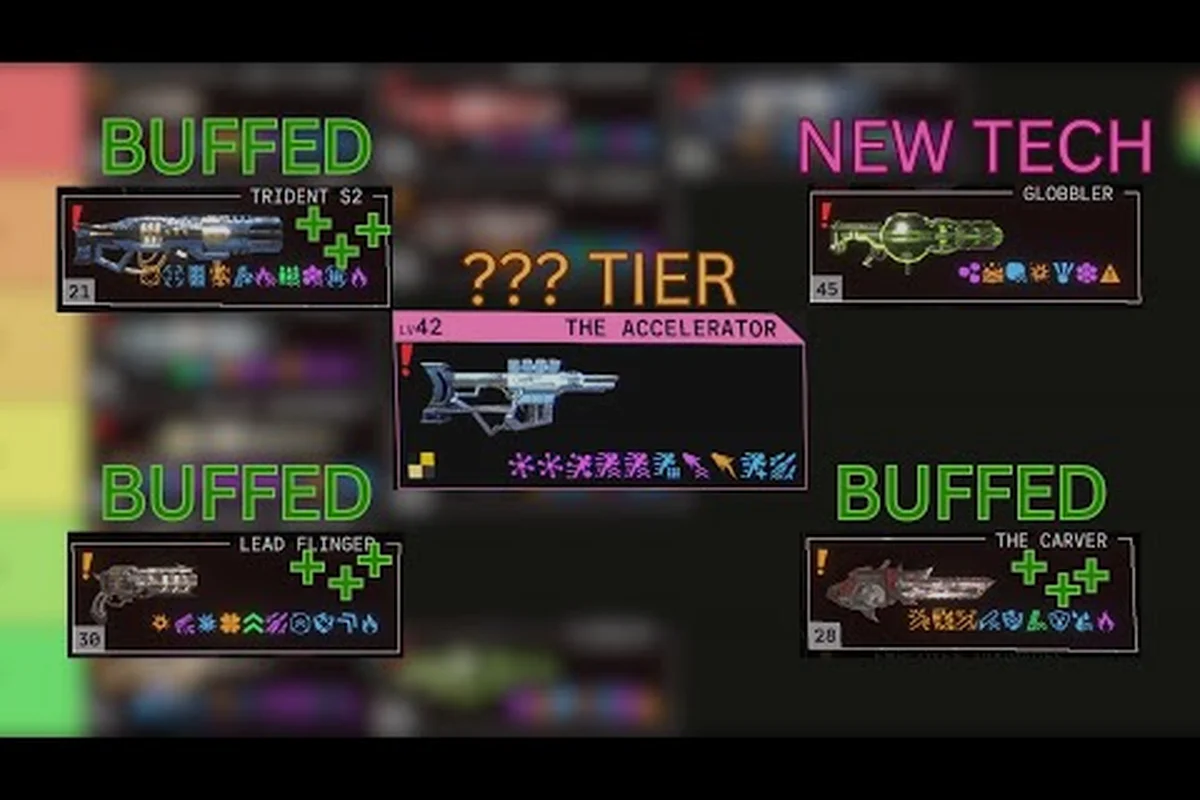
Mycopunk Best Weapon Builds: Loadouts, Skins & Top Setups
Discover the Mycopunk best weapon builds — try top loadouts with the A16 Beam Ripper, Laser Cannon, and The Last Argument tuned for any mission.

Mycopunk Gunship Cannon: Prism Buffs, Stats & Best Builds
Break down the Mycopunk Gunship Cannon — prism stacking from patch 1.6.1, damage numbers, and the weapon pairings that make this heavy hitter shine.
All Articles
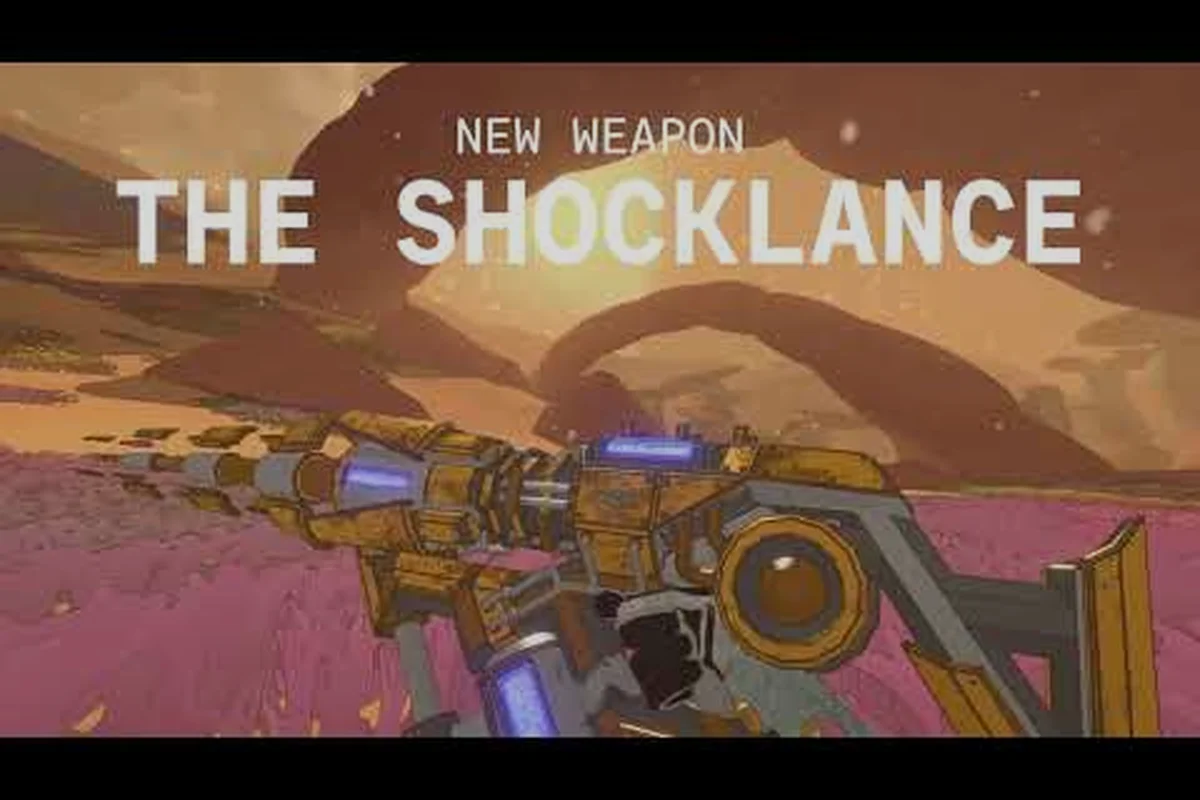
Mycopunk Shocklance Build: Storm's Eye, Carver & Swarm Tips
Optimize your Mycopunk Shocklance build — master Storm's Eye stacking, pair it with the Carver and Swarm Launcher, and balance the Diffraction Driver.
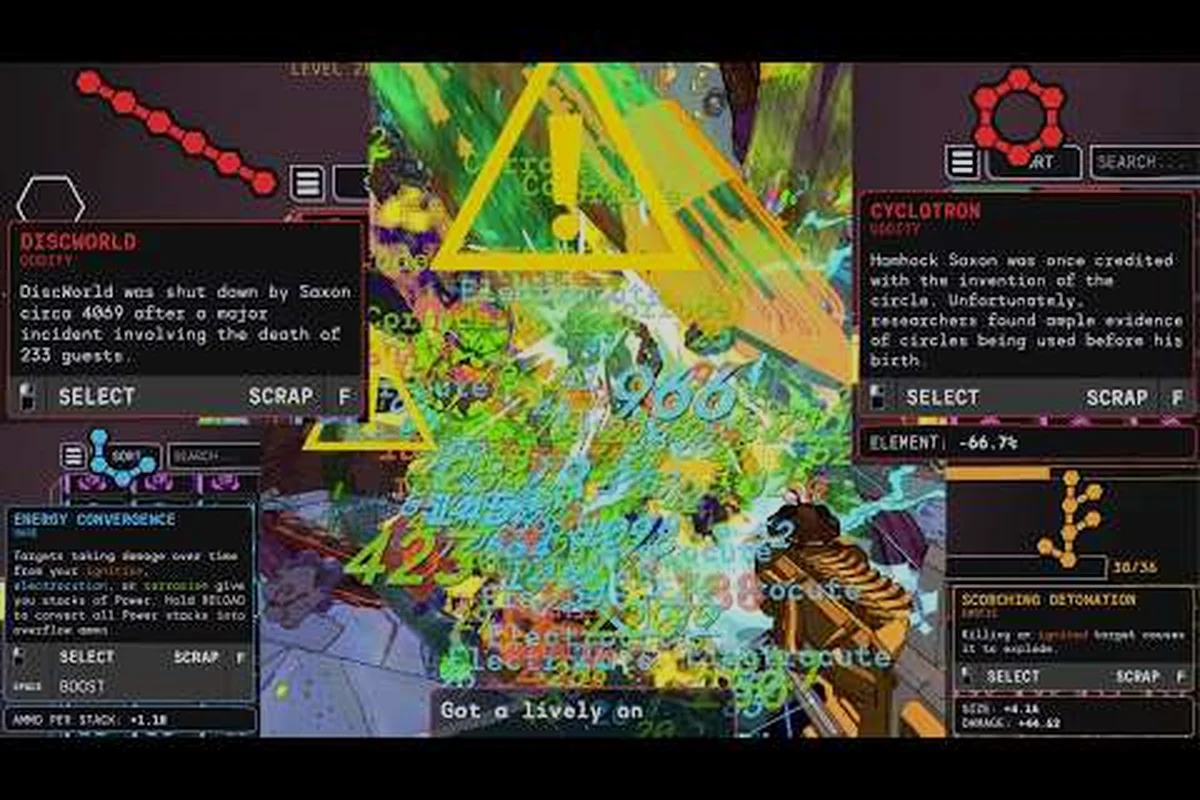
Mycopunk Cycler: Fire Rate, Best Upgrades & Grenade Pairings
Optimize your Mycopunk Cycler build — how fire rate and spin-up work, top upgrade picks, and the grenades that turn this weapon into a room clearer.

Mycopunk Voltaic Grenade: Chain Damage, Stats & Best Uses
Master the Mycopunk Voltaic Grenade — how chain lightning scales, which enemies it fries fastest, and the weapon pairings that electrify your build.

Mycopunk Weapon XP: Fastest Farming Routes & Top Picks
Max every Mycopunk weapon XP bar fast with proven farming routes, XP-boosting upgrades, and a rundown of the weapons worth leveling first at 1.0 launch.