Enemies
Mycopunk enemy guide: shell and core structure, reusable detached parts, element interactions and every documented boss including the weekly rotation.
Introduction
Mycopunk's enemies are fungal-organic machines built from a shell and a core, and the shell is the part that kills you. Shooting a heavy enemy's outer layer exposes the core inside, and breaking the core is what actually removes it from the fight. That two-layer structure drives most of the combat advice in this section: where to aim, which element disables which part, and why an enemy's detached components sometimes end up back on the field in someone else's hands. Bosses follow the same logic at a larger scale, with weekly rotations such as the Amalgamation and Cranius anchoring the endgame, and Abomination variants filling the role of mid-tier threats that must be respected rather than ignored.
Notable Enemy Reference
| Enemy | Threat Style | How To Approach |
|---|---|---|
| Amalgamation | Recurring weekly boss | Fight it in the dedicated hunt mission with a prepared grid rather than on a whim |
| Abomination | Heavy two-layer threat | Break the shell, then commit burst to the exposed core |
| Abomination Lacerator | Melee-only variant | Keep distance and use cryo to stop it closing before it reaches the crew |
| Cranius | Weekly boss that throws explosives | Watch for thrown explosives and prioritise mobility over standing damage |
| Antigrav Drone | Airborne disruptor | Treat as a part-targeting problem; disabling its weapon is cheaper than killing it |
| Optical Jammer | Visibility denial | Expect reduced sight lines and reposition rather than fighting through the jam |
| Brute | Heavy, population-limited | Subject to soft limits, so thinning other enemies can relax the pressure |
| Hornet | Fast harasser, freezable | Freeze it to remove its mobility advantage entirely |
Enemy Roster
Amalgamation
Weekly — The recurring weekly boss
Abomination
Armoured — Two-layer heavy threat
Cranius
Weekly — Weekly boss with explosives
Antigrav Drone
Part Target — Airborne disruptor
Optical Jammer
Utility Enemy — Visibility denial unit
Devastator
Heavy — Heavy weapons platform
Missilehead
Heavy — Missile platform with detachable arrays
Pixie
Support — Immunity-granting support
Core Mechanics
Heavy enemies consist of a shell that absorbs damage and a core that decides whether the enemy lives. Breaking through the shell exposes the core, and sufficient damage to the core destroys the enemy outright. Detached parts are not simply deleted: fallen components can be picked up and reused by other enemies, which means a fight can get harder if you disable a dangerous weapon without finishing the enemy carrying it. Elements interact with this structure directly, since freezing a specific part disables that component without requiring you to break the whole shell. Enemy behaviour also scales with threat level, and certain enemy types are subject to soft limits on how many can be alive at once, which is why a fight can suddenly relax after a wave is thinned out.
Advantages
The shell and core system rewards precision over spraying. A player who targets a heavy enemy's weapon first can neutralise it while leaving the armour intact, which is far cheaper than chewing through a full health bar. Cryo makes this dramatically easier, because a frozen part simply stops working, and the melee shatter on a frozen target converts control into a large damage burst. Knowing the enemy roster also pays off defensively: Brutes and Abominations are subject to population soft limits, so understanding which threats the game is throttling lets you prioritise correctly instead of panicking at the largest silhouette on the field.
Challenges
Damage-spongy heavies are the most common complaint in player reviews, and the shell layer is the reason: a weapon that has not been upgraded will spend a long time on armour before it ever touches a core. Reusable detached parts create counter-intuitive moments where disabling an enemy's weapon makes the fight harder rather than easier, which is genuinely hard to plan for. Enemy variety is also thin compared to the size of the upgrade system, so experienced players see the same silhouettes repeatedly across regions. Several endgame enemies and bosses, including the newest weekly rotation content, have no published mechanics from the developers, so their patterns have to be learned by dying to them.
Frequently Asked Questions
Why do my shots seem to do nothing to large enemies?+
What happens to the parts I shoot off an enemy?+
Which bosses should I expect in the weekly rotation?+
Quick Tips
Aim at parts before you aim at health bars. Freezing or destroying a heavy enemy's weapon neutralises the threat it poses while leaving the rest of the enemy alive, which is often enough to let you clear the room before returning to finish it. This is especially true for enemies that punish you from range while you deal with closer attackers.
Do not assume a disarmed enemy stays disarmed. Fallen parts can be picked up and reused by other enemies, so a fight where you have carefully removed three weapons can suddenly regain all three on different bodies. Finish enemies rather than leaving crippled ones behind, especially in the denser threat 5 and above missions.
Build for burst if heavies are your problem. Shells absorb damage and reward builds that can delete them quickly, so stacking damage windows and Turbocharged abilities matters more against an Abomination than sustained damage per second against trash. If a run stalls in front of one enemy, the fix is normally more burst rather than more ammunition.
Featured
Mycopunk Amalgamation Hunt Rewards: Loot, Cranius & Targets
Track every Mycopunk amalgamation hunt reward — Cranius boss drops, Abomination Lacerator loot, and the Rocket Grunt and Antigrav Drone targets worth chasing.
Mycopunk Enemy Spawns: Amalgamation, Abomination & Boss Locations
Find every Mycopunk enemy spawn point — learn where Cranius, the Devastator, and Amalgamation bosses appear, and which missions surface the toughest enemy packs.
Mycopunk Missilehead Boss Guide: Counters & Loadouts
Shut down the mycopunk missilehead before its salvo lands, with weak-point priorities, large-enemy spawn caps and the weapon pairings that end it fastest.
All Articles
Mycopunk Enemy Modifiers: Detached Parts & Exotic Drops
Master Mycopunk enemy modifiers — learn which parts detach in combat, how to trigger exotic drops, and which boss-tier modifiers reward the rarest upgrades.
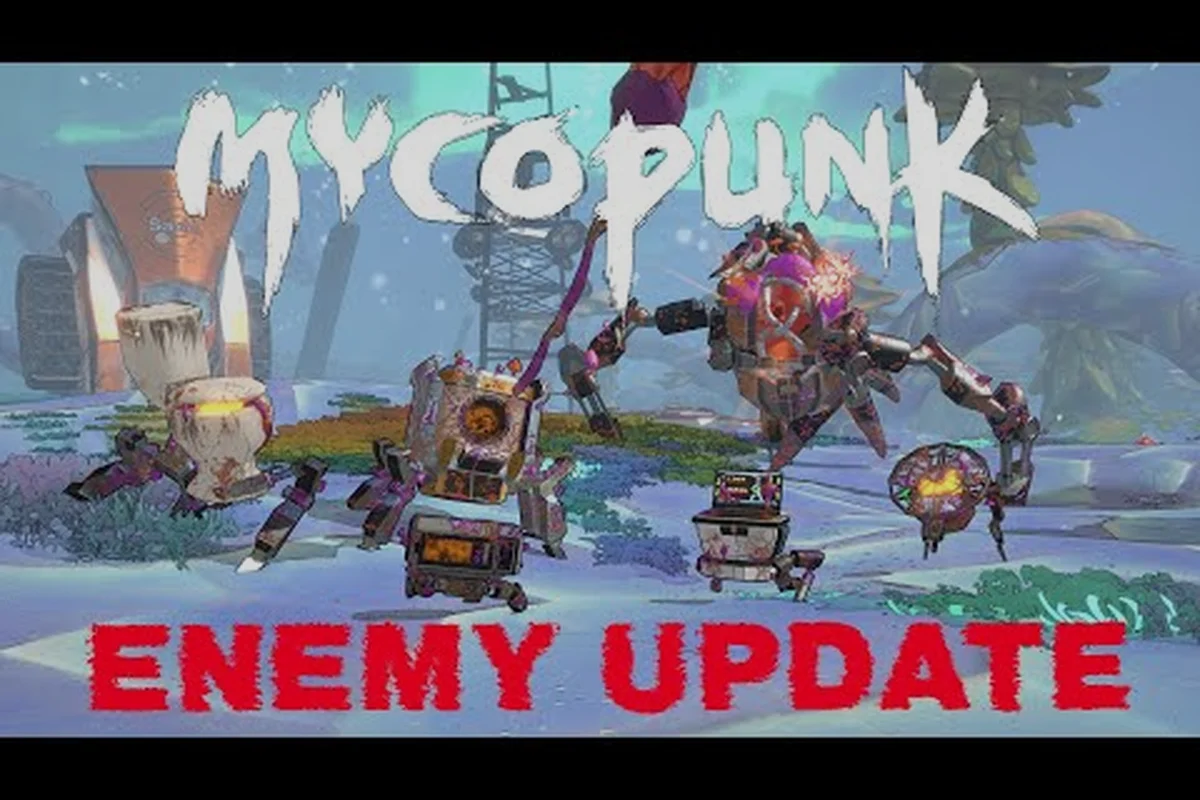
Mycopunk Enemy Types: Every Foe, Boss Variant & Drop Tier
Learn how mycopunk enemy types split into cores and shells, from Brutes to Antigrav Drones, and what the 1.9 redesign changed about fights on New Atlas.
Mycopunk Overclocked Enemies: Cores, Shells & Weak Points
Break down Mycopunk overclocked enemies — how cores and shells work, where weak points spawn, and why density and scaling make Abominations bullet sponges.